
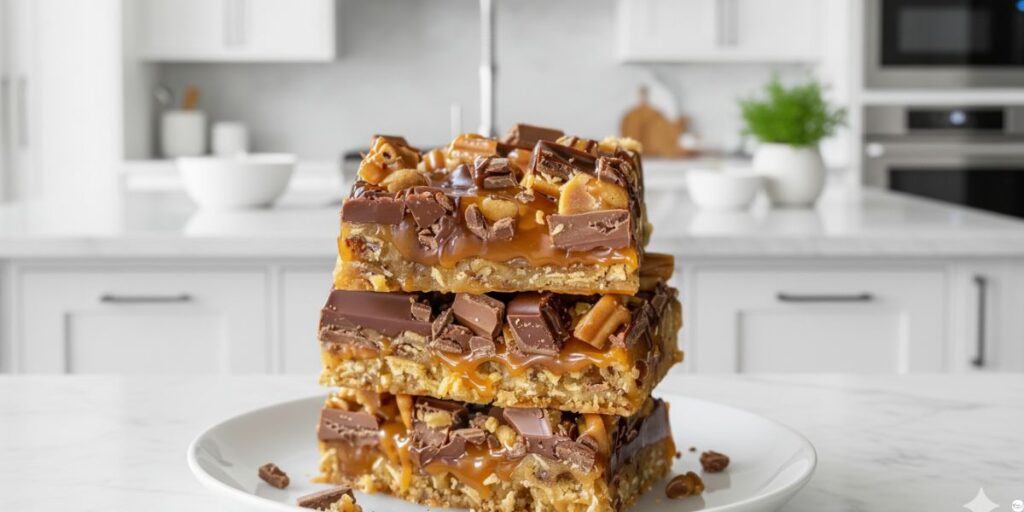
These Caramel Chocolate Crunch Bars are the perfect mix of buttery crunch, gooey caramel, and rich chocolate in every bite. These chocolate bars are quick, easy, and made with simple ingredients you already have in your kitchen. Perfect for parties, holidays, or whenever you need a sweet treat fast!
If you love chocolate desserts, don’t miss my rich and moist Chocolate Cake Recipe
Why You’ll Love These Chocolate Caramel Crunch Bars Recipe?
- Every bite is a mix of buttery crunch, gooey caramel, and smooth chocolate a texture that melts in your mouth.
- They’re so easy to make with just a few simple ingredients no special baking skills needed.
- You can add your own twist with nuts, sea salt or even a drizzle of extra caramel on top.
- These bars are perfect for any occasion from family gatherings to a cozy night at home.
- I’ve made this recipe many times, and it never fails to impress the taste, the texture, everything comes out just right.
If you enjoy baking sweet treats, you’ll love my Chocolate Chip Cookies — they’re soft, chewy, and loaded with chocolatey goodness!
Ingredients You Will Need for Caramel Chocolate Crunch Bars
- Flour – makes the base soft but holds everything together. (I always make sure it’s fresh for the best texture.)
- Brown sugar – gives a sweet, caramel-like flavor to the bars.
- Butter – keeps the crust rich and tender.
- Caramel sauce – gooey and sweet, it’s what makes these bars so addictive.
- Chocolate chunks & chips – melt in the oven and add that chocolatey goodness.
- Nuts (optional) – a little crunch if you like, I love adding toasted almonds.
Tip: A tiny sprinkle of sea salt on top makes the flavors pop!

Equipment You’ll Need
- Baking Dish – holds all the layers together and makes cutting easy. (I use an 8×8-inch dish for perfectly sized bars.)
- Mixing Bowls – for combining ingredients without making a mess. (I like using medium and large bowls for different layers.)
- Wooden Spoon or Silicone Spatula – great for mixing the crust and spreading caramel evenly. (Silicone spatulas are perfect for scraping every bit of caramel.)
- Measuring Cups & Spoons – ensure accurate ingredients for consistent results. (Measuring properly keeps the bars from being too sweet or dry.)
- Parchment Paper – makes it easy to lift bars out and keeps them from sticking. (I always line the pan for quick clean-up.)
How to Make Caramel Chocolate Crunch Bars at Home
Preheat Your Oven
Heat your oven to 350°F (175°C) and line an 8×8-inch pan with parchment paper. This helps you lift the bars out of the pan cleanly without any mess.
Make the crust
Mix flour, brown sugar, and melted butter until crumbly. Press it into the pan evenly. I like pressing it gently so the bars hold together nicely.
Bake the crust
Bake for 10–12 minutes, just until the edges turn a light golden brown and the crust feels set. This gives a nice firm base for the caramel.
Add caramel
Pour the caramel sauce over the warm crust. Warming the caramel a little helps it spread easily.
Top with chocolate and nuts
Sprinkle chocolate chunks and nuts (if using) over the caramel. Toasting nuts adds a little extra crunch and flavor.
Bake again briefly
Bake for another 10 minutes until the caramel bubbles. This sets the caramel just right.
Add chocolate chips
Sprinkle chocolate chips on top. Let them melt a bit, then spread gently for a smooth chocolate layer.
Cool and slice
Let the bars cool completely before cutting into squares. Chilling them in the fridge helps them hold their shape.
Pro Tips for the Best Caramel Chocolate Crunch Bars
- Use quality chocolate – good chocolate melts better and gives a richer flavor.
- Don’t over-press the crust – gently pressing keeps it tender but firm enough to hold the layers.
- Warm the caramel slightly – this makes it easier to spread evenly and gives that gooey texture we love.
- Add a pinch of sea salt – it really brings out the caramel and chocolate flavors.
- Chill before slicing – for neat squares that hold together perfectly.
- Customize with nuts – toasted almonds, pecans, or walnuts add crunch and extra flavor.
- Store in an airtight container – keeps the bars soft and chewy for days.
How to Store and Freeze Chocolate Caramel Bars?
- Room temperature: Keep in an airtight container for 3–4 days, soft, chewy, and ready to snack.
- Refrigerator: Store for up to 1 week, chilling helps the layers set for neat slices.
- Freezing: Wrap bars individually, place in a freezer-safe container, and freeze for 2–3 months. Thaw at room temperature before serving.
From my experience: Slicing before freezing makes serving easy and keeps the bars looking perfect.
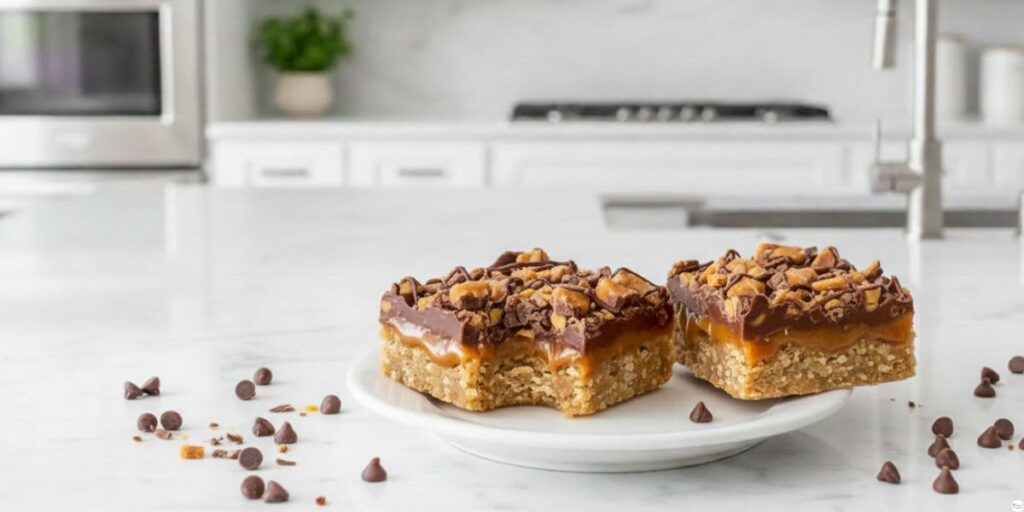
Serving Suggestions & Variations
- Serve these bars warm with a glass of milk or coffee for the perfect treat.
- Add toasted nuts or sea salt on top for extra flavor.
- Want more chocolatey goodness? Try my Pistachio Chocolate Chip Cookies — soft, chewy, and full of chocolate!
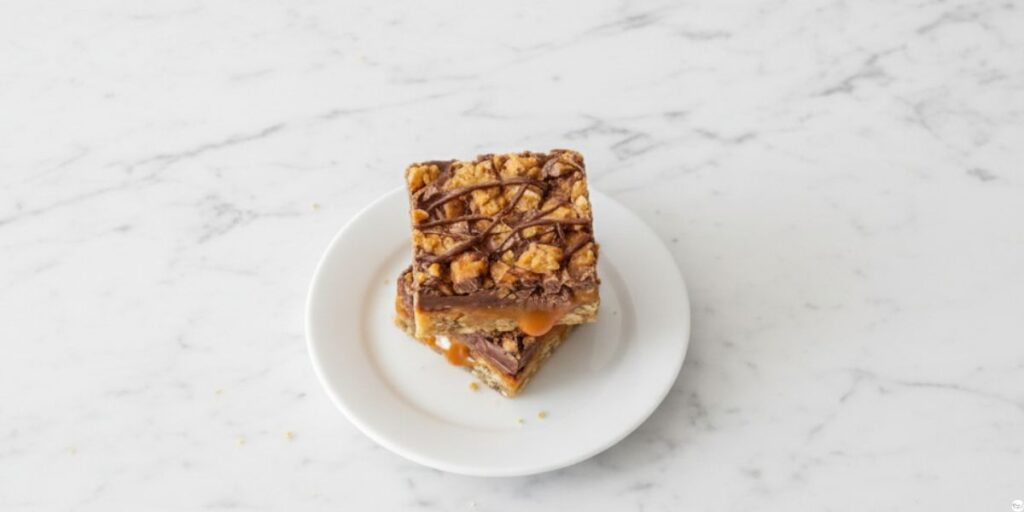
- Cut into small squares for parties or gift boxes — they’re always a hit.
FAQS About Caramel Chocolate Crunch Bars
What makes Crunch bars crunchy?
The crunch comes from the buttery baked crust and optional nuts. Baking the base until lightly golden gives a firm yet tender layer, creating that satisfying bite. (From my experience baking these bars multiple times, lightly toasting nuts or adding chocolate chunks enhances the crunch perfectly.)
How do they get caramel in a chocolate bar?
Caramel is made by melting sugar with butter and cream until smooth and gooey. In these bars, we pour warm caramel over the baked crust and top it with chocolate. (As a home baker who tests recipes frequently, I’ve found warming the caramel slightly before spreading ensures even layers and perfect chewiness.)
What happens if you don’t refrigerate caramel?
If not cooled properly, the caramel may stay too soft or sticky, making cutting messy. Chilling the bars helps the caramel layer set and keeps slices neat. (I always chill my bars before slicing, and it works every time.)
How do I prevent my caramel from being too hard?
Avoid overcooking caramel and add a bit of butter or cream to keep it soft and gooey. Using high-quality ingredients helps maintain the perfect chewy texture. (Based on my experience, even small changes in ingredients or cooking time can make a big difference.)
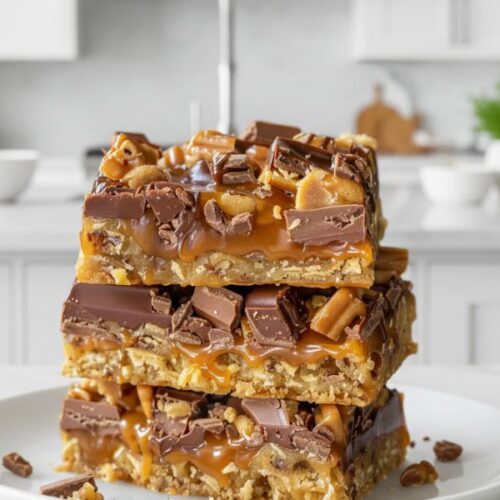
Final Thoughts
These Caramel Chocolate Crunch Bars are buttery, gooey, and chocolatey, perfect for any sweet tooth! From my experience, they are easy to make and always a hit. Loved this recipe? Don’t forget to share your results in the comments or tag me on social media. I’d love to see your creations!
Caramel Chocolate Crunch Bars Recipe (Easy & Delicious No-Bake Dessert)
Ingredients
- 2 cups all-purpose flour
- ½ cup brown sugar
- 1 cup unsalted butter
- 1 cup caramel sauce
- 1 cup chocolate chunks
- ½ cup chocolate chips
- ½ cup chopped nuts (optional)
- ¼ tsp sea salt (optional)
Instructions
- Preheat oven to 350°F (175°C) and line an 8×8 inch pan with parchment paper.
- Mix flour, brown sugar, and melted butter until crumbly; press into the pan.
- Bake crust 10–12 minutes until lightly golden.
- Pour caramel over warm crust and spread evenly.
- Sprinkle chocolate chunks and nuts (if using) over the caramel.
- Bake another 10 minutes until caramel bubbles.
- Top with chocolate chips let them melt and spread gently.
- Cool completely before slicing into squares.
Tips & Variations
- Use high-quality chocolate for the best flavor.
- Add a pinch of sea salt or toasted nuts for extra flavor.
- Chill before slicing for neat squares.
- Store in an airtight container; freeze for up to 2–3 months.
Notes
- Crust: Press gently but firmly — overworking can make it tough.
- Caramel: Warm slightly before pouring to spread evenly and keep it gooey.
- Chocolate: Use high-quality chocolate for the best flavor and smooth melting.
- Nuts: Toasted almonds, pecans, or walnuts add extra crunch and flavor.
- Salt: A small pinch of sea salt enhances the chocolate and caramel taste.
- Storage: Keep bars in an airtight container at room temperature (3–4 days) or in the fridge (up to 1 week). Freeze for up to 2–3 months.
- Serving: Let bars cool completely before slicing for clean squares; serve with coffee or milk.